
Wanting to give your rats a nice big base filled with lots of substrate for them to dig in but not sure where to start? Well this guide should really help you. You are making a great choice too. Rats are fossorial animals and get a lot of stimulation out of being able to dig around and work for their food. Providing a nice deep base is very enriching for them and encourages natural behaviours that are deeply rooted into their natural instincts. The trouble is no matter what cage you buy for your rats you won’t be able to find one that comes with a base deep enough to provide enough substrate for them to dig well in. The Little Zoo Venturer cage does have a good go at this but every other cages base is really not up to the task.
So, what you’ll be told by many in the online rat community is “Buy some Perspex and make your own.” This is indeed correct but easier said than done right? Where do you buy Perspex from? What size panels do you need? How do you assemble it? They are just a few of many questions that can easily build up and overwhelm those who aren’t too DIY savvy or those who usually prefer to buy things readymade to fit.
Do not worry though, building your own base is quite simple to do and I’ll take you through everything I did step by step, with pictures, so you can have a go yourself. Obviously everyone has different cages, some will want to drop the base to the floor while others will want to sit it in an existing tray and other things like that so DO NOT copy my measurements and base placing exactly unless you have a Little Zoo Venturer cage and want it to be the same as mine. But you can decide what you want to do with your cage and use this guide to follow the same process to get yourself the same results with your cage.
So now it’s time to build a base…..
The first thing you need to do is decide how big your base needs to be. The bases can either be made to fit inside the existing cage trays (this way you won’t require a Perspex bottom) or you can take the bottom out completely and have the base drop onto the floor. The advantage of sitting it on the floor is you free up a lot more space, effectively making your cage bigger in size but the disadvantage is you can no longer move your cage around so you’ll have to take that into consideration first. Dropping it to the floor is beneficial in cages like The Savic Royales, Critter Nations and Pet Planets because the bottoms of the cages are sat quite high up above a shelf meaning there is a lot of opportunity to extend the cage downwards and make use of the unused space. However I have a Little Zoo Venturer which sits close to the floor anyway so I settled to have my new base sit in the existing tray down the bottom.
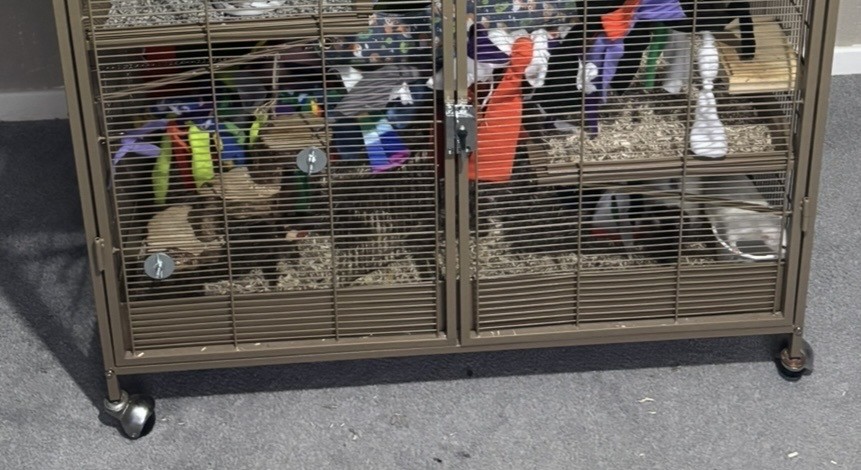
The next step is to measure up for the Perspex sheets which need ordering. You’ll need to order two longer lengths for the front and back of the base, two shorter lengths for the sides and if you need a bottom you need to measure for that too. The best place to measure up for it is the bottom chunk of the sub frame of the cage as this is the hole your Perspex base will need to sit flush in. There is a method to this to get it perfect but it’s not difficult.
Base Bottom – Measure the lengths and widths of the very bottom of your cages sub frame and jot down the measurements. This is the size of what you want your base to be.
Base Lengths – Measure from left to right the back and front of the cage bottom/tray and jot the measurement down. Don’t presume these lengths are exactly the same especially if you’re putting this inside a tray as the metal trays do warp a bit over time. Measure each one individually.
Base Widths – Measure from the front to the back of each side of the cage. Again like the lengths don’t presume these are the same.
Once you have your measurements you’ll need to do a bit of measurement planning to get them to all fit perfectly in the rectangle size you’ll be requiring. This is because with the side panels you’ll need to take into account the thickness of the Perspex you’ll be using and then subtract that from the overall width measurement so it doesn’t push the overall measurement out and make the base too big to fit the cage hole. Don’t worry I’ll take you through it in more detail below. You’ll also need to decide how deep you want your base too. This is easy though as you can decide this yourself and it’s totally personal preference.
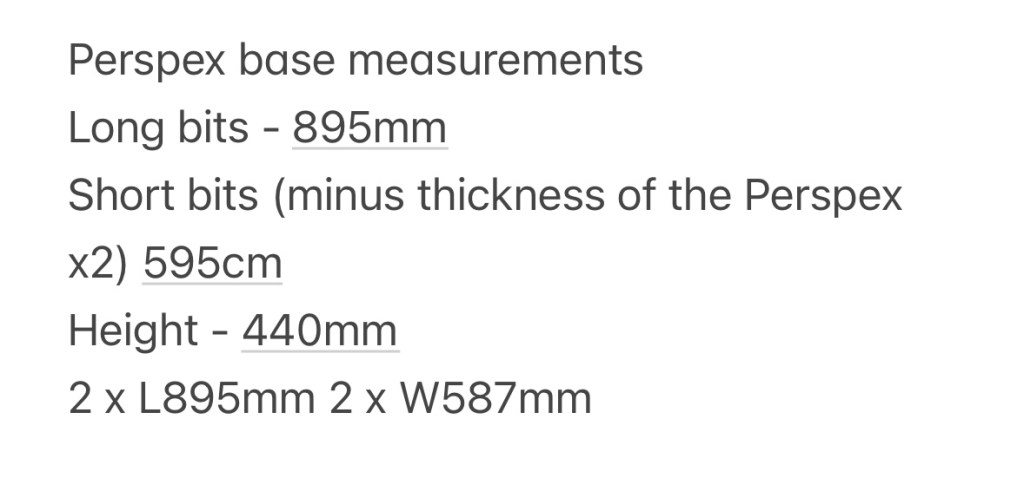
My final measurements were:
Lengths – 895mm
Widths – 595cm
Height – 440mm
Thickness – 4mm.
I then needed to subtract the 4mm thickness of the length panels off the overall measurement for the Width panels so they fit correctly. As you have a length panel at the front and the back you subtract 4mm twice to make it accurate. This means my original 595mm measurement would need to be 587mm now on both sides.
(So down each side front to back there will be 4mm thickness from the front panel, then 587mm Perspex side panel and finally 4mm thickness from the back panel. 4mm + 587mm + 4mm = 595 mm total which should fit perfectly)
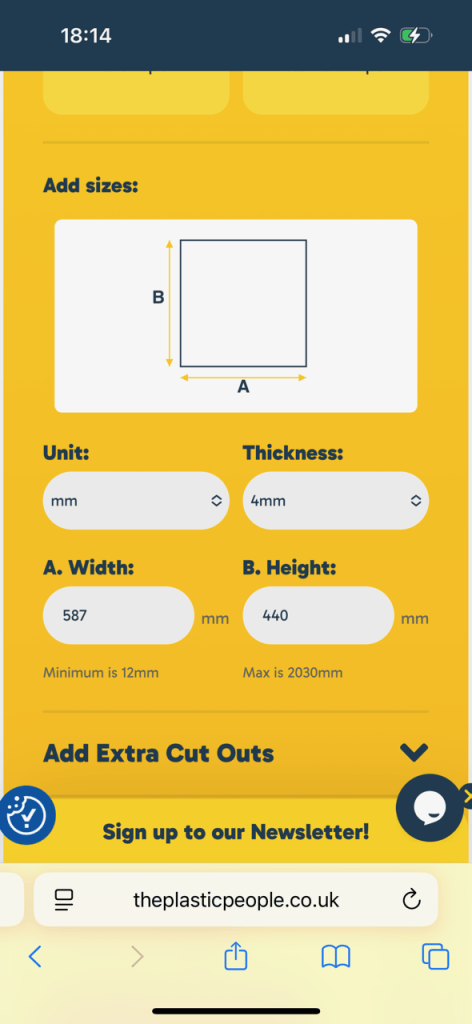
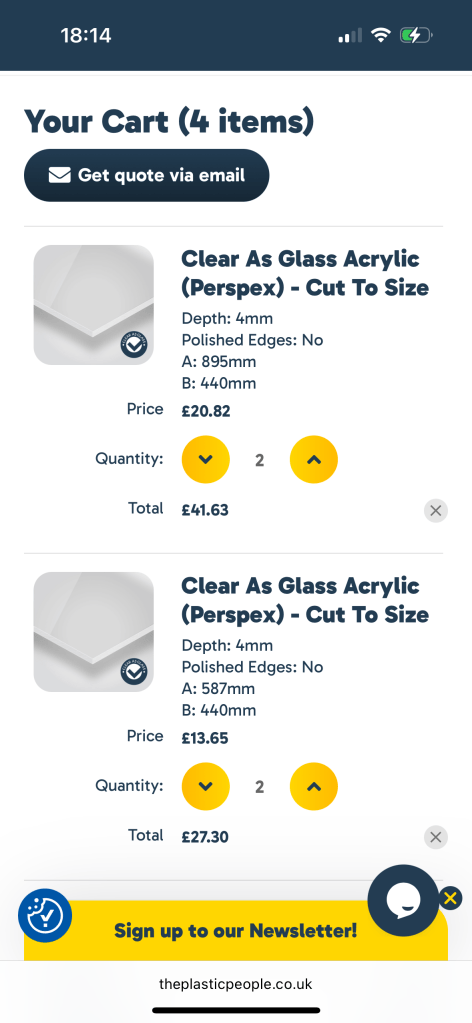
Now you have your measurements it’s time to order your Perspex. I recommend going to a company like The Plastic People. You can simply enter in your measurements and they will cut Perspex to size and send it out to you. This process was really simple and the Perspex turned up just a couple of days later. My 4 panels in total came to £68.93 and I managed to get a couple of pounds off the total by using code WELCOME5 at checkout so hopefully that discount code still works for a while yet. Now you just have to wait for them to be delivered.

Once the panels have arrived it’s time to put your deep base together. I would recommend buying some clear gorilla tape for this. It’s strong and see through so should be enough to hold the panels in place and not be very noticeable to spoil the look of the box. Remove the protective film on the Perspex panels and assemble in place. If you have a base panel put that down first followed by the longer front and back panels. Then slot the side panels in and, all going well, they should all fit in snugly together. You can do a brief test run first if you wish by assembling this in the cage and checking everything fits then assembling and taping outside the cage.
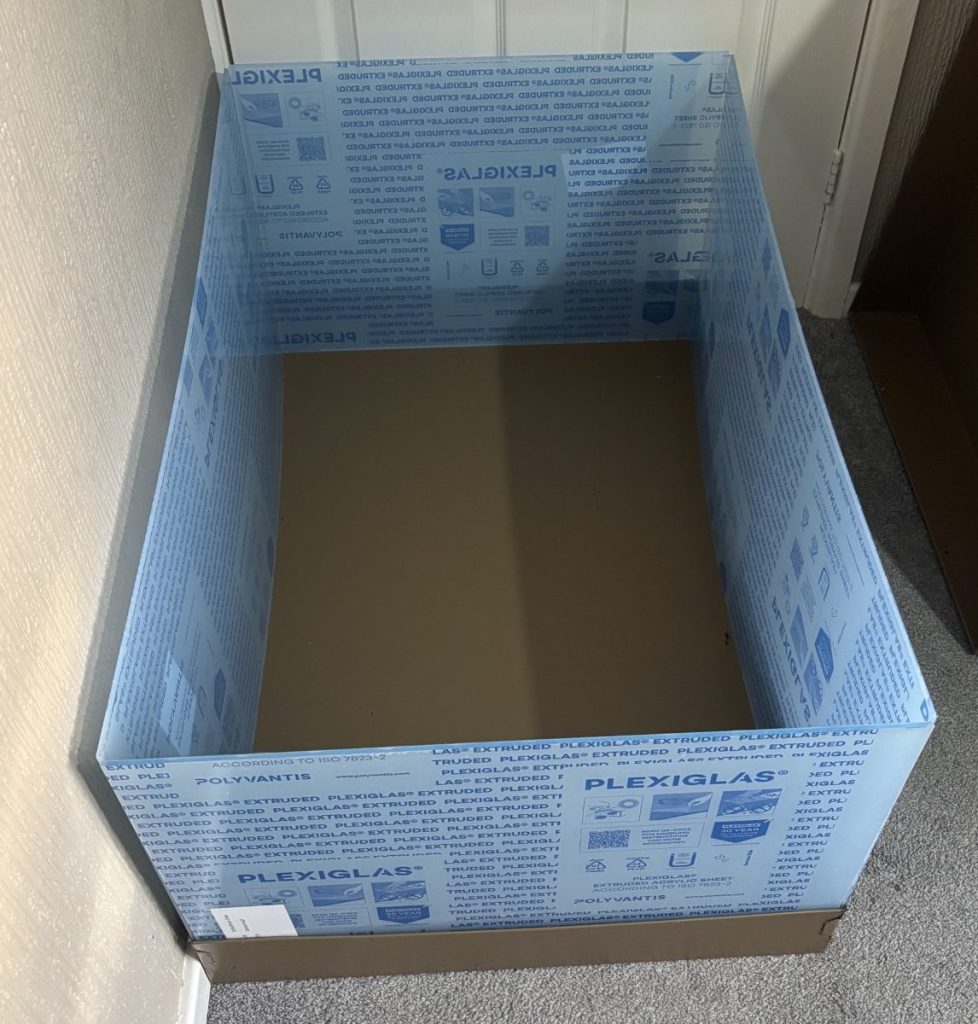
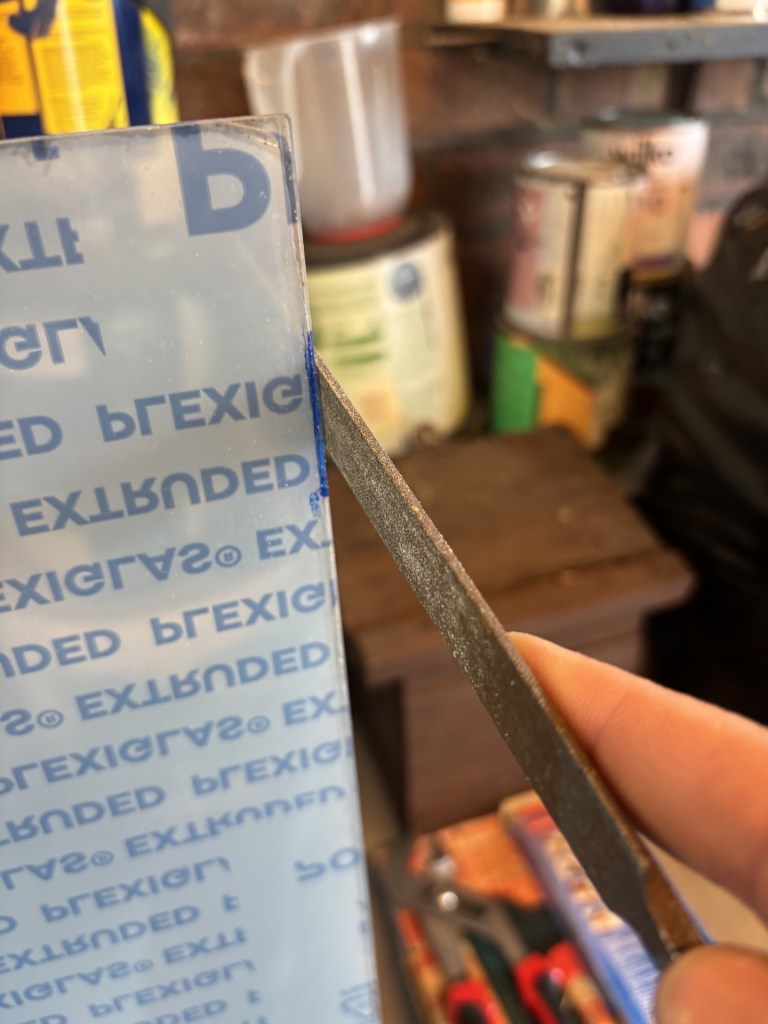
If it’s slightly too snug you can easily shave a little bit off with a simple flat sided file. Don’t worry you won’t break the Perspex it’s very easy stuff to file down.
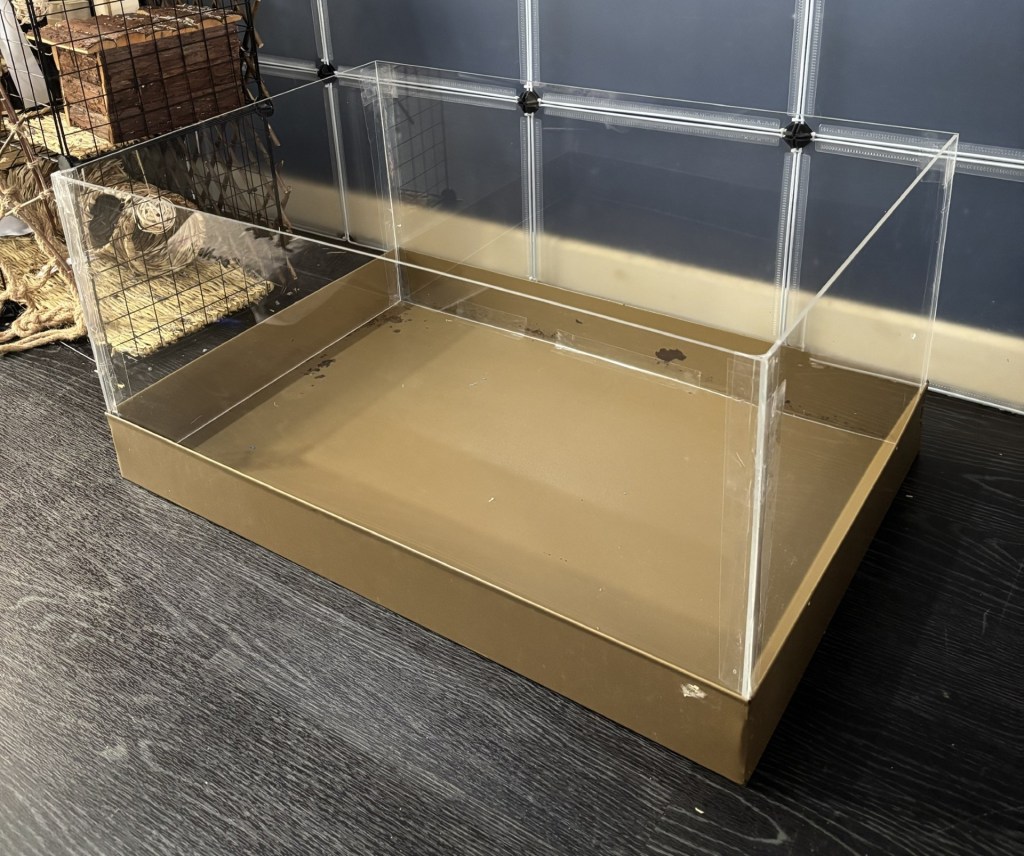
It is much easier building the base outside the cage and then building the cage around it too if you can but obviously this isn’t always possible unless you have somewhere else to put your rats. Luckily I did this one during intros so the cage was empty and I was able to just slide the tray in once it was all built. For those who are building it straight to the floor popping the sides of the cage off might make things easier for you if you can do that. You can then slide it all in then fasten the cage securely round it. If not it can still be done inside the cage it’s just taping things together might mean a few acrobatic poses are necessary.
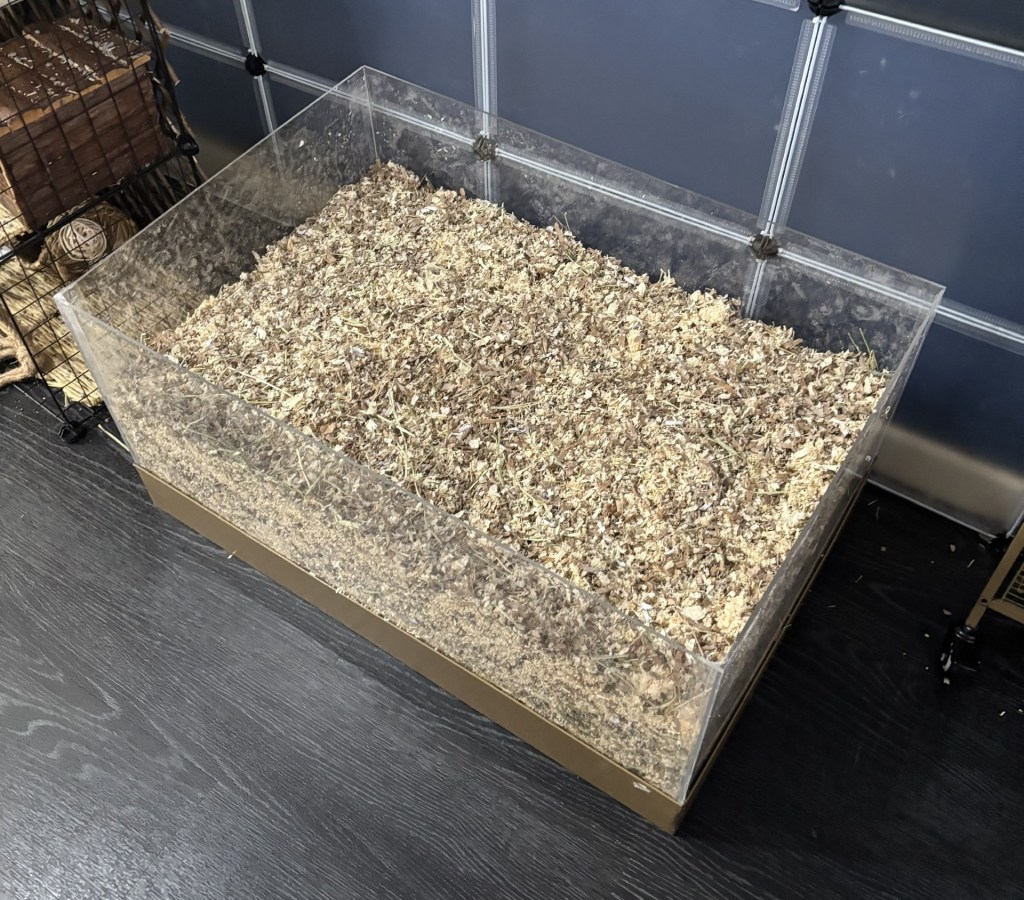
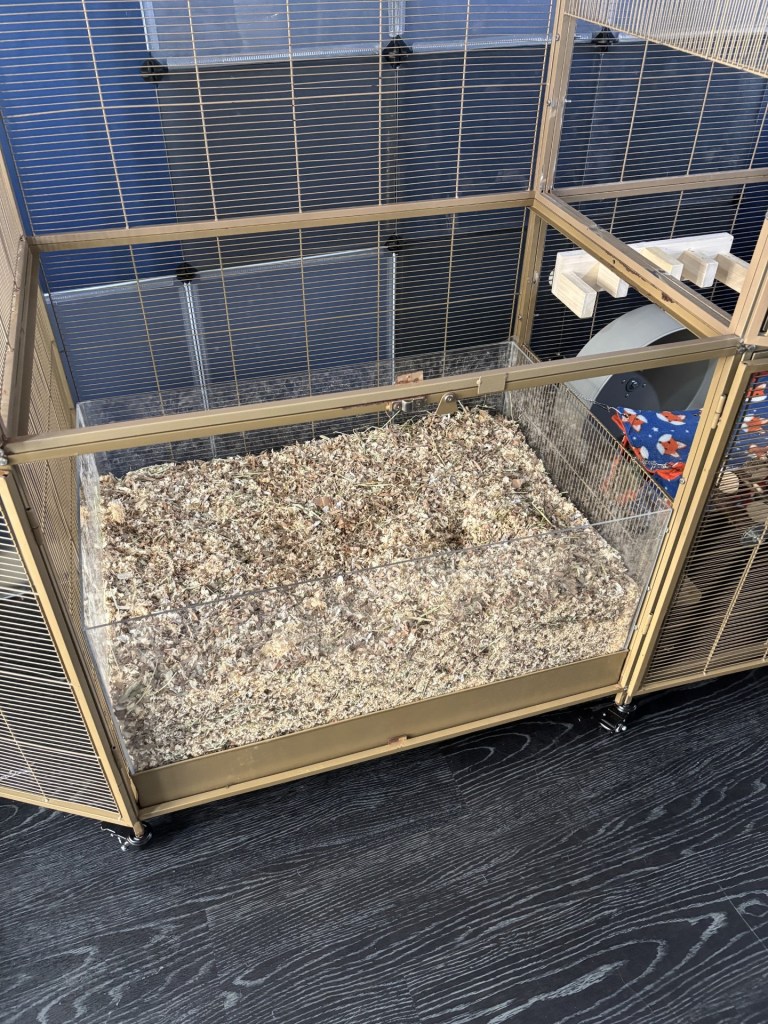
So now you should have a nice deep base installed in the bottom of the cage. That’s the hard bit done. Now all you need to do is fill it. You can either go for deep substrate or you can go down the bioactive route and have soil in there. I went for a nice 50/50 mix of shavings and shredded cardboard with some hay mixed in to help strengthen things if the boys want to try to make some tunnels. I filled it up about three quarters full then slid the tray in and that was it.
There you go that’s all there is to it. Seems pretty daunting at first when planning it but once you’ve got all your measurements and ordered the Perspex it’s much easier from there. Hopefully this helps some people plan things a bit easier and I hope your ratties enjoy their fun new digging box.
 The Rat Wiki